
I would never have thought that I am going to make a corset. However, as I find myself diving deeper into the depths of the historical costuming, there's just no way that I can circumvent the question of proper undergarments. Thus the whole month of February was dedicated to my attempt on the art of corsetry and this is the recount of all my ordeal.

I bought this late Victorian half-bust corset pattern from The Black Snail Patterns on Etsy. Was I more advanced, I would have probably drawn the pattern myself, but as a total novice in this art, I decided against this idea. After printing the PDF and sticking all the sheets together, I had a nicely looking pattern. And, as the instructions recommended, I started with a mockup.

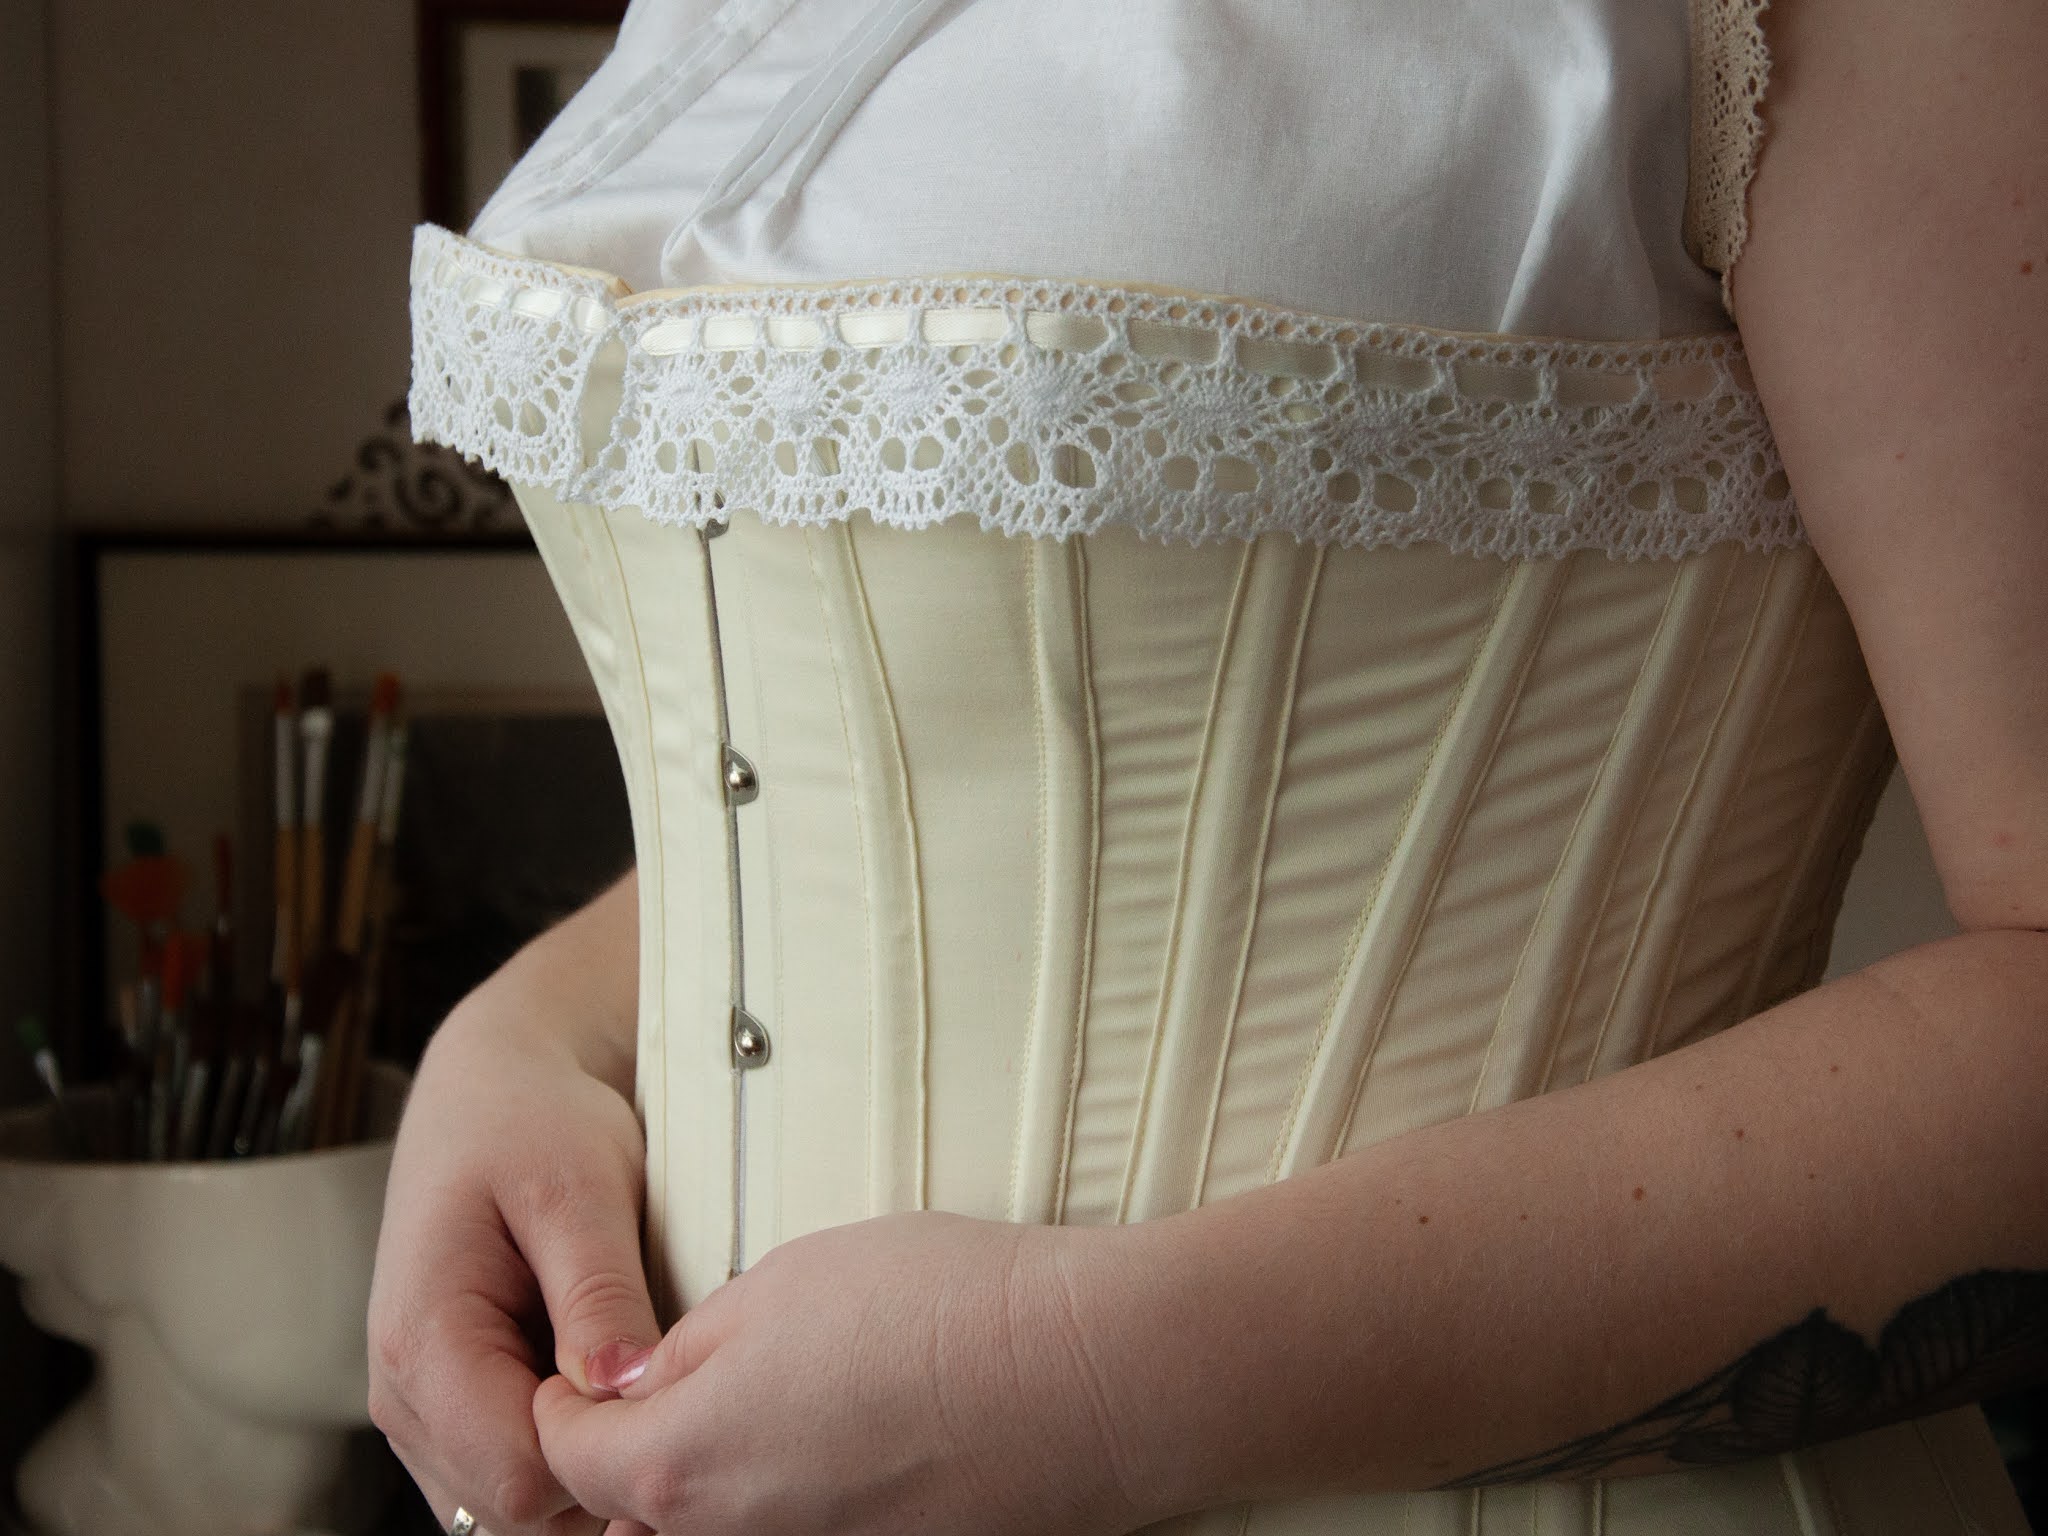
Although the given instructions told me to make the upper layer from the coutil (tightly woven cotton fabric) and the lining from thinner cotton, I wanted to do it vice versa, and use the pale yellow satin as the fashion fabric. Moreover, the pictures on the cover of the instructions clearly showed, that the fabric they used for the outer layer of an example corset was not coutil, as it was shiny and looked like silk (or silk satin). So I decided to make my mockup's outer layer from the cotton and line it with thick cotton (that I bought in... Ikea!). When I was done, I immediately saw the problem that this fabric switcheroo has caused: since the boning channels were sandwiched between the layers, the fashion fabric, being much thinner, bunched and gathered in all the wrong places because the bones were forcing it to do it. I sat down and watched a bunch of corset making videos on Youtube and although Bernadette Banner clearly told that her video was not a tutorial, I decided to follow her course of actions.
Other than that, the mockup did suit me and I practically had to make no alterations, so I could move straight into making the real thing.

First of all, following the Bernadette's "not-a-tutorial", I made all the boning channels to sit on top of the corset, instead of being in between the layers of fabric. This meant that I had to measure and cut more of the cannels since all the seams had to be covered with boning. I also pressed them and left them to cool between the pages of a heavy book. This did help to make their shape crisp!

Then what followed was days of basting, sewing with my trusty old sewing machine, stitching some parts by hand, because I was not confident enough that the machine would do th work properly. As I am a complete beginner in corsetry, of course that not all my seams are straight on these countless boning channels, but, hey, maybe the next corset will come out with much nicer lines after all this practice!

After inserting the busk in the front, as well as all the plastic whalebone pieces into their rightful channels, I've handstitched the binding at the top and at the bottom of the corset. Then came the time for flossing.

Flossing is a method of embroidery. The idea is to make the whalebones sit in place by wrapping their ends in a fancy way. Mine's not that fancy, but I like how the final result turned out to be.
One last big step was inserting the grommets for lacing. This was a quick process but my hand hurt for quite some time, because those setting pliers really do need strength.
What was left, was to attach the cotton laces and voila, the corset was done!

But wait, there's more! It was the time to make a chemise - a shirt that you wear UNDER the corset, because no sane miss or lady would have worn the corset straight on their bare skin (contrary to the stereotype perpetually propagated by the media)! As we were (and we still are) in a ye olde quarantine, I had to wait until the restrictions were a little bit eased and let the fabric shops to open, because I needed a nice cotton for the garment. So this Monday was the day when I finally got my hands on couple of meters of lovely cotton and got back to work once again. I used vintage cotton laces that I took of an old pillowcase that my mom wanted to throw away. After the chemise was done, I could only then call the project complete!


Yes, it is comfortable. Yes, I can breathe! I did not tight lace it - the whole idea is to smooth my body shape and give the right contour for my historical clothes.
Looking back, I know that I've made some mistakes, but this is really going to be helpful in the future, because I am already thinking about making another corset and this time with cording parts. I am probably going to use this same pattern, but tweak it according to the similar historical ones that I've collected on Pinterest. I am also probably going to try more fancy ways of flossing. Other than that I think making of a corset is not a challenge that a beginner can't undertake. It's all about the mindset: I approached the project with pure curiosity. I was excited to finally try to make one with my own hands, especially after watching the work of so many amazing youtubers I felt inspired rather than discouraged!
Stay tuned for more of my DIYs, I hope that the next one wouldn't take a month to complete!

Photos © Aesthastic


Comments